- A small rechargeable battery (like a 3.7V lithium battery—think 14500 or similar)
- A USB charging module (TP4056 type—you’ll find it easily online)
- A diode (such as 1N4007) if you need to tweak the voltage a bit
- A little patience… and that’s it!
All you have to do is remove the old batteries, solder the rechargeable battery’s wires in their place, and install a tiny USB-C or micro-USB port on the back of the remote. Suddenly, your everyday remote works just like your phone—plug it in to charge, and you’re good to go. Pretty handy, right?
Want to go further? Try the Bluetooth upgrade
If you’re into tech and DIY projects, you can take this idea a step further and turn your remote into a Bluetooth-enabled device. You’ll need to install a microcontroller (like an ESP32) and reprogram the internal circuit.
It’s a fun challenge for hobbyists and tinkerers, but for most people, the rechargeable battery mod is more than enough.
A small fix with a big impact
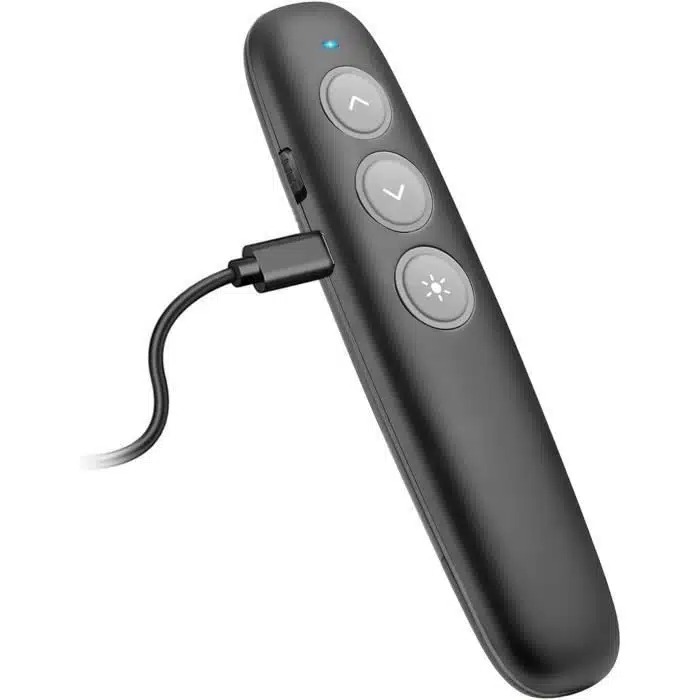
People toss out hundreds of millions of batteries every year. Even though many are recycled, producing them still takes a ton of energy. Switching to a rechargeable remote—even just one—is a small, meaningful way to live more sustainably.
And honestly, there’s something really satisfying about using a gadget you’ve upgraded yourself. It’s like giving a new life to something you use every day but never think about.
Quick recap:
- All you need is a lithium battery and a charging module to make your remote rechargeable
- You’ll save money
- You’ll create less waste
- And you’ll join the growing community of “makers” who breathe new life into old tech
So, what are you waiting for? Go grab that old remote from the drawer—it’s time for a DIY glow-up.